| _includes | ||
| _layouts | ||
| _posts | ||
| _scss | ||
| images | ||
| .gitignore | ||
| 404.md | ||
| _config.yml | ||
| about.md | ||
| CNAME | ||
| feed.xml | ||
| index.html | ||
| LICENSE | ||
| README.md | ||
| style.scss | ||
I write a free newsletter: Get Hired as a Web Developer. Check it out to improve your chances of landing the job you want.
Jekyll Now
Jekyll is a static site generator that's perfect for GitHub hosted blogs (Jekyll Repository)
Jekyll Now makes it easier to create your Jekyll blog, by eliminating a lot of the up front setup.
- You don't need to touch the command line
- You don't need to install/configure ruby, rvm/rbenv, ruby gems ☺️
- You don't need to install runtime dependancies like markdown processors, Pygments, etc
- It's easy to try out, you can just delete your forked repository if you don't like it
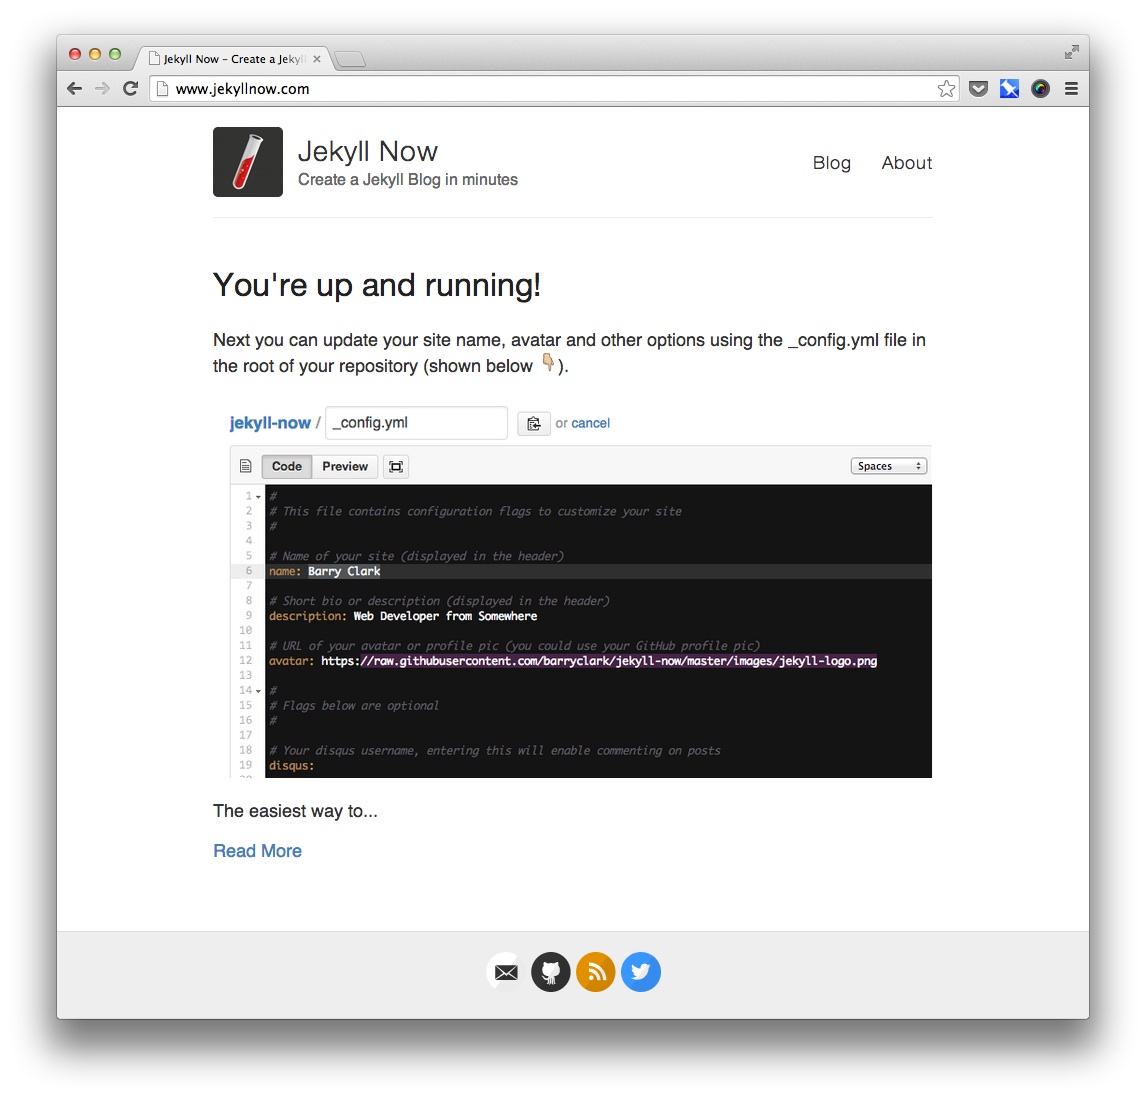
In a few minutes you'll be set up with a minimal, responsive blog like the one below giving you more time to spend on writing epic blog posts!
Quick Start
Step 1) Fork Jekyll Now to your User Repository
Fork this repo, then rename the repository to yourgithubusername.github.io.
Your Jekyll blog will often be viewable immediately at http://yourgithubusername.github.io (if it's not, you can force it to build by completing step 2)
Step 2) Customize and view your site
Enter your site name, description, avatar and many other options by editing the _config.yml file. You can easily turn on Google Analytics tracking, Disqus commenting and social icons here too.
Making a change to _config.yml (or any file in your repository) will force GitHub Pages to rebuild your site with jekyll. Your rebuilt site will be viewable a few seconds later at http://yourgithubusername.github.io
There are 3 different ways that you can make changes to your blog's files:
- Edit files within your new username.github.io repository in the browser at GitHub.com (shown below).
- Use a third party GitHub content editor, like Prose by Development Seed. It's optimized for use with Jekyll making markdown editing, writing drafts, and uploading images really easy.
- Clone down your repository and make updates locally, then push them to your GitHub repository.
Step 3) Publish your first blog post
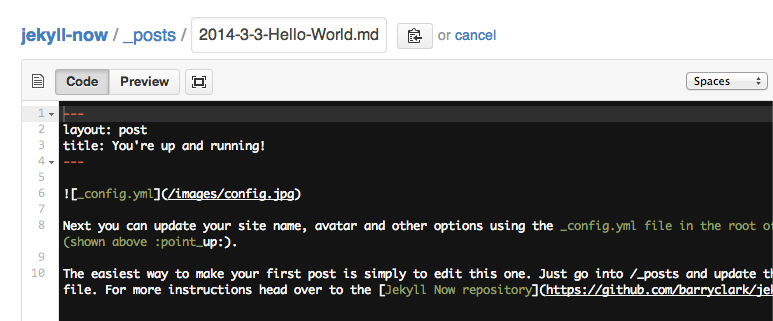
Edit /_posts/2014-3-3-Hello-World.md to publish your first blog post. This Markdown Cheatsheet might come in handy.
You can add additional posts in the browser on GitHub.com too! Just hit the + icon in
/_posts/to create new content. Just make sure to include the front-matter block at the top of each new blog post and make sure the post's filename is in this format: year-month-day-title.md
Moar!
I've created a more detailed walkthrough of Getting Started With Jekyll, check it out if you'd like a more detailed walkthrough and some background on Jekyll. 🤘
It covers:
- A more detailed walkthrough of setting up your Jekyll blog
- Common issues that you might encounter while using Jekyll
- Importing from Wordpress, using your own domain name, and blogging in your favorite editor
- Theming in Jekyll, with Liquid templating examples
- A quick look at Jekyll 2.0’s new features, including Sass/Coffeescript support and Collections
Jekyll Now Features
✓ Command-line free fork-first workflow, using GitHub.com to create, customize and post to your blog
✓ Fully responsive and mobile optimized base theme (Theme Demo)
✓ Sass/Coffeescript support using Jekyll 2.0
✓ Free hosting on your GitHub Pages user site
✓ Markdown blogging
✓ Syntax highlighting
✓ Disqus commenting
✓ Google Analytics integration
✓ SVG social icons for your footer
✓ 3 http requests, including your avatar
✓ Emoji in blog posts! 💖 💖 💖
✘ No installing dependancies
✘ No need to set up local development
✘ No configuring plugins
✘ No need to spend time on theming
✘ More time to code other things ... wait ✓!
Questions?
Open an Issue and let's chat!
Get my new themes
If you'd like me to let you know when I release a new theme, just drop me your email for updates. I'm currently working on a hacker portfolio site theme.
Other forkable themes
You can use the Quick Start workflow with other themes that are set up to be forked too! Here are some of my favorites:
- Hyde by MDO
- Lanyon by MDO
- mojombo.github.io by Tom Preston-Werner
- Left by Zach Holman
Credits
- Jekyll - Thanks to it's creators, contributors and maintainers.
- SVG icons - Thanks, Neil Orange Peel. They're beautiful.
- Joel Glovier - Great Jekyll articles. I used Joel's feed.xml in this repository.
- Design & Code reviews - Thanks to David Furnes, Jon Uy, Luke Patton


